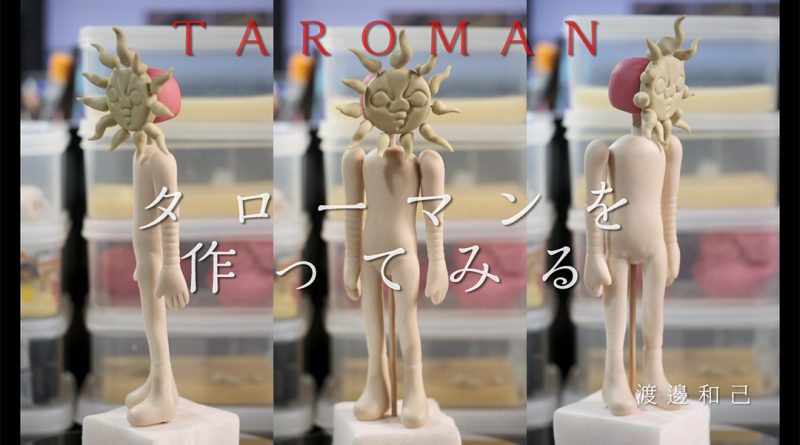
TAROMAN タローマンを作ってみる(樹脂粘土 着色前素体編)

YouTubeのお勧めに出てきた「TAROMAN」が面白かったので、作ってみることにしました。
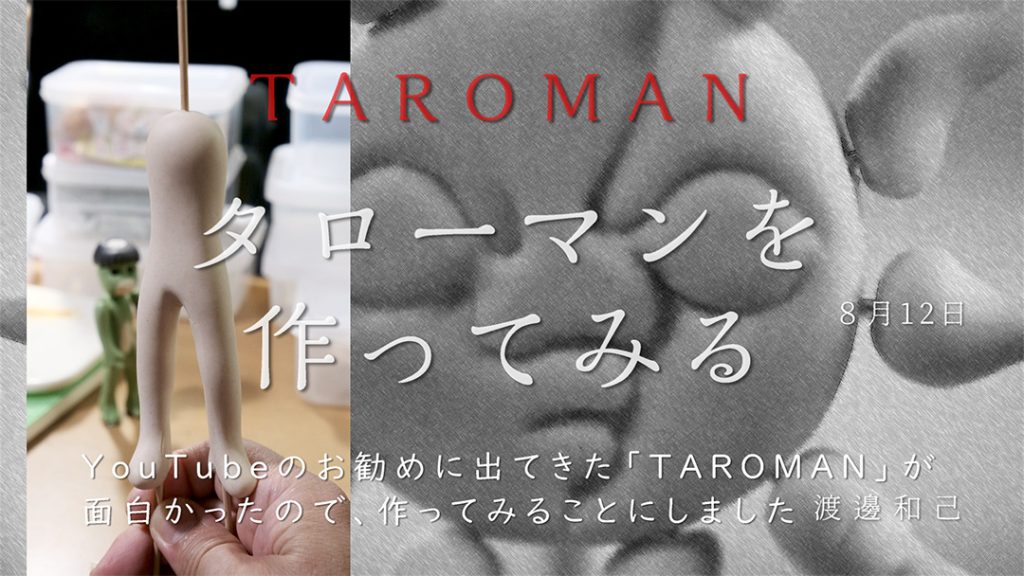
8月12日
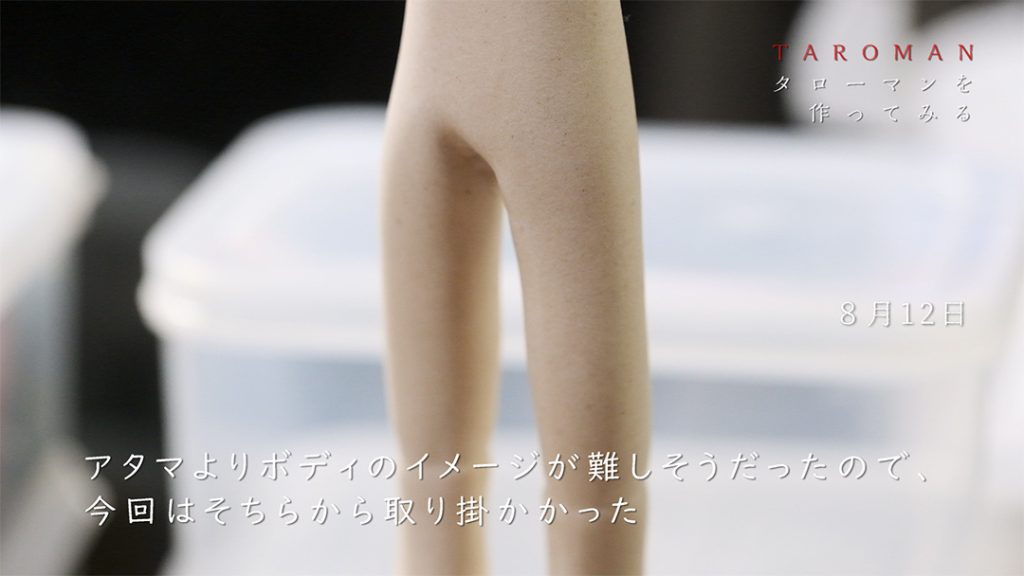
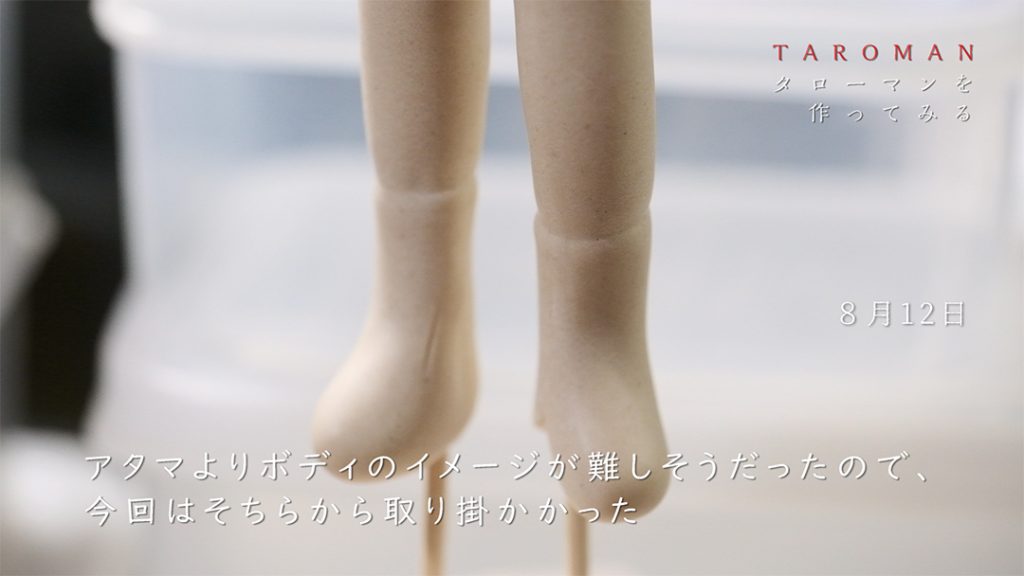
アタマよりボディのイメージが難しそうだったので、今回はそちらから取り掛かかった。

8月14日
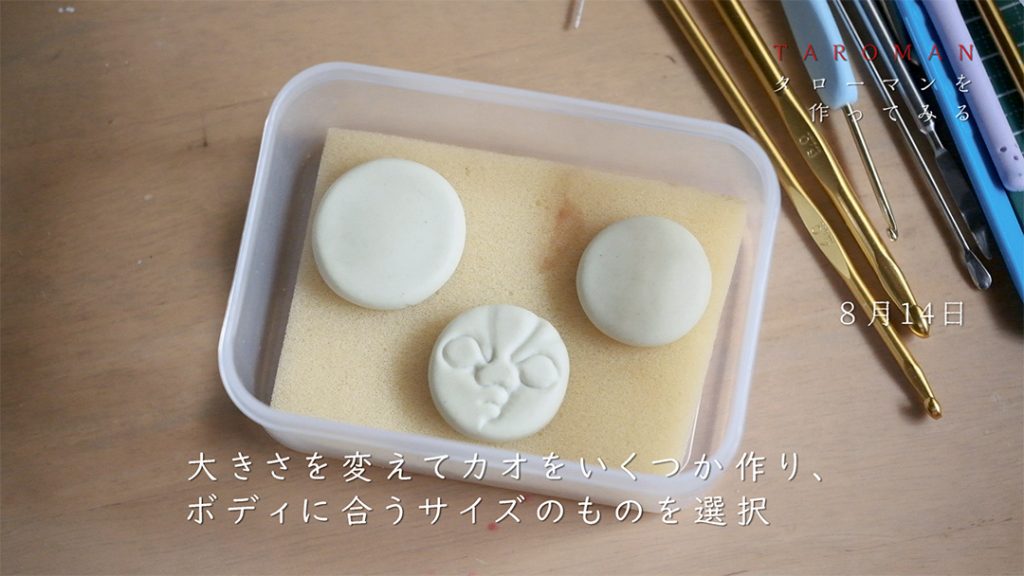
大きさを変えてカオをいくつか作り、ボディに合うサイズのものを選択。
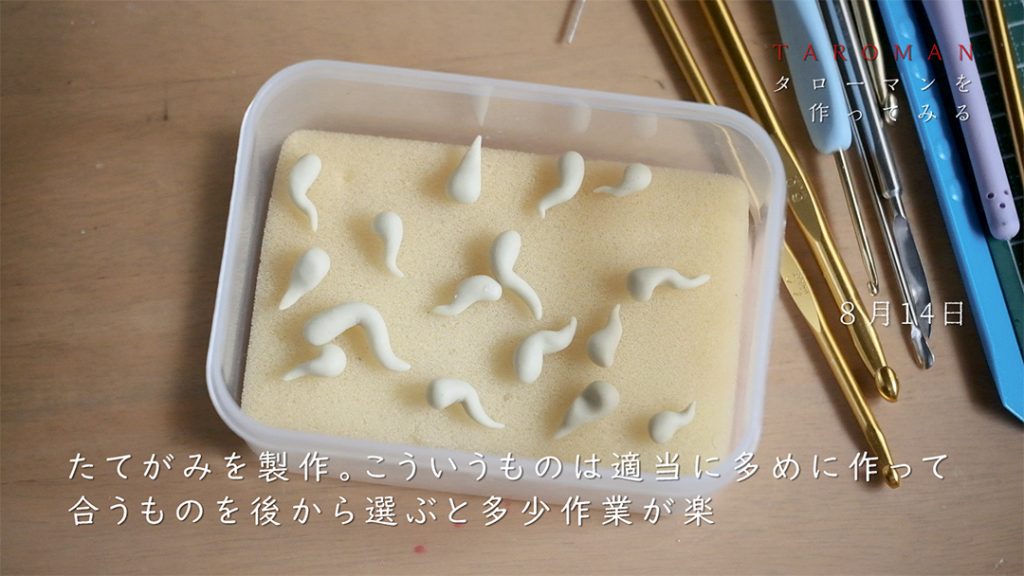
たてがみを製作。
こういうものは適当に多めに作って合うものを後から選ぶと多少作業が楽。
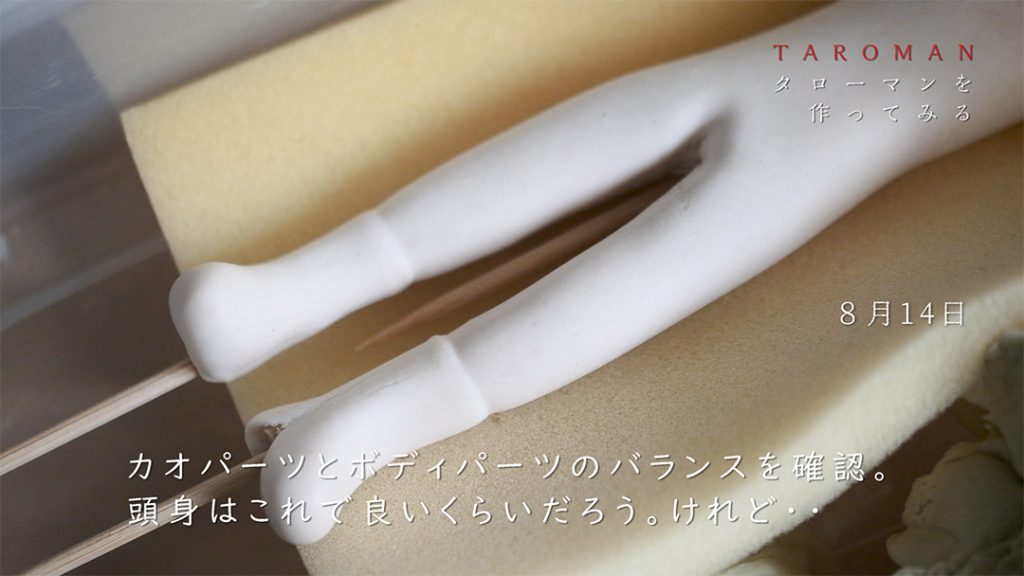
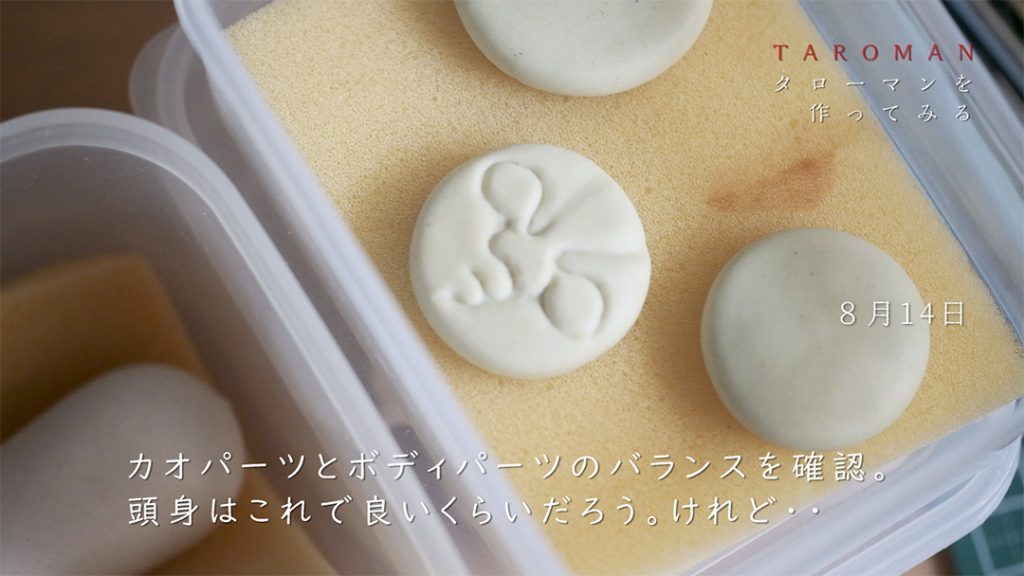
カオパーツとボディパーツのバランスを確認。
頭身はこれで良いくらいだろう。けれど・・
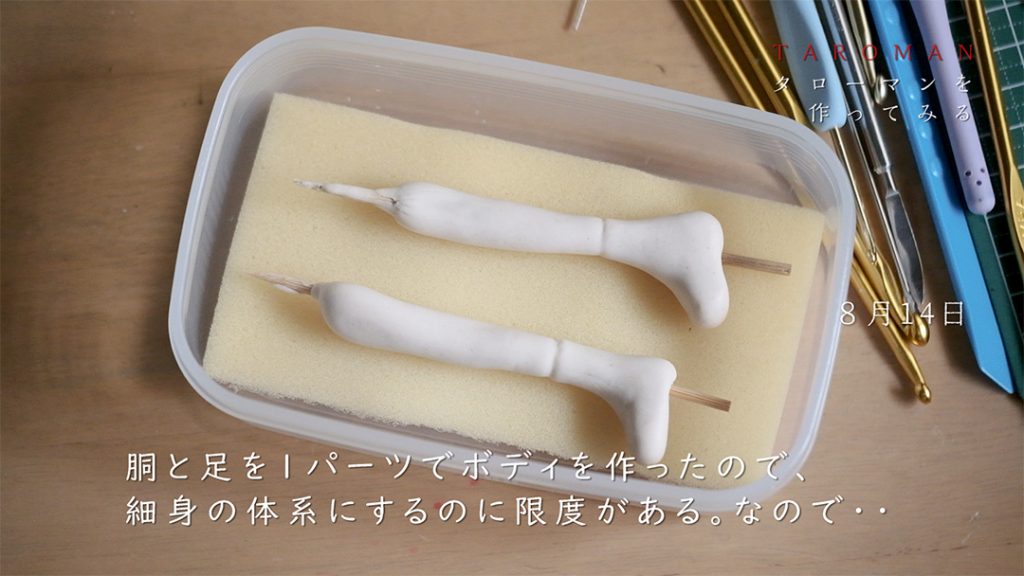
胴と足を1パーツでボディを作ったので、細身の体系にするのに限度がある。
なので・・
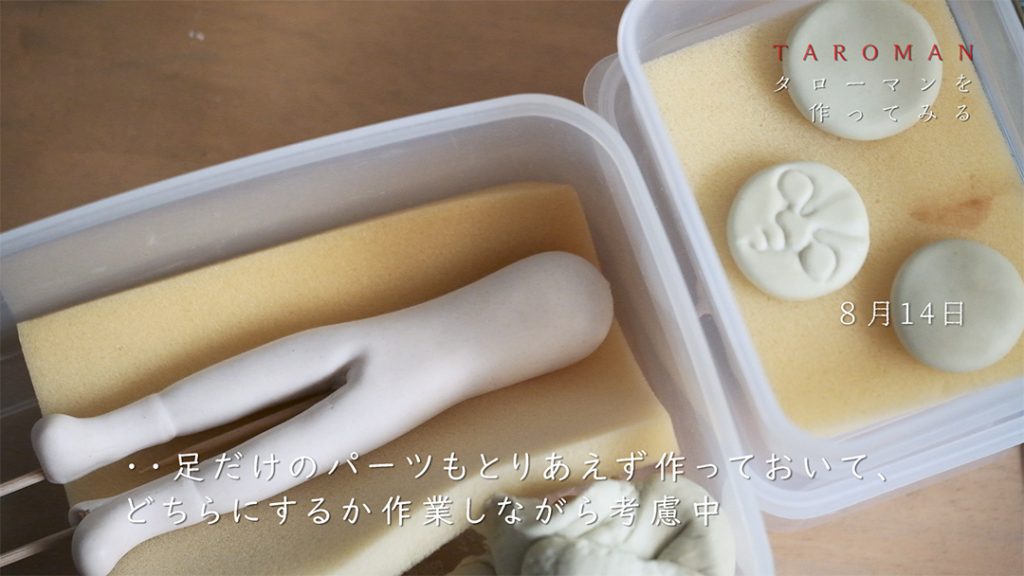
・・足だけのパーツもとりあえず作っておいて、どちらにするか作業しながら考慮中。
8月15日
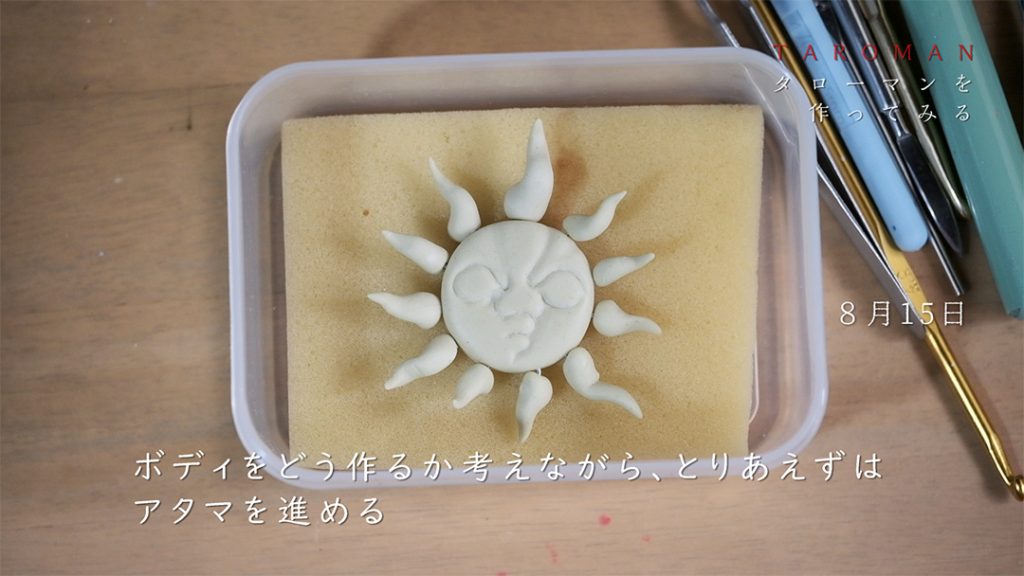
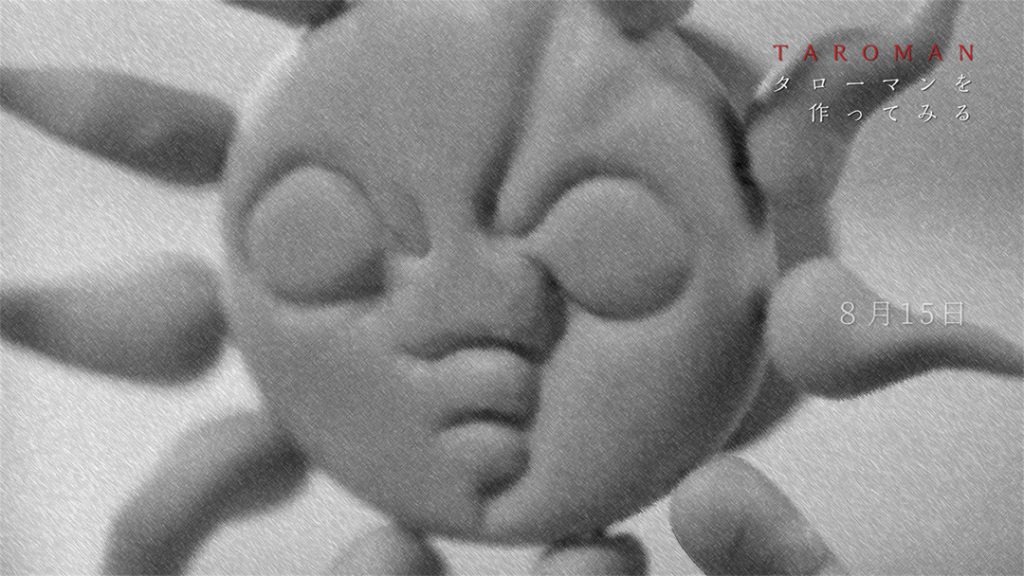
ボディをどう作るか考えながら、とりあえずはアタマを進める。
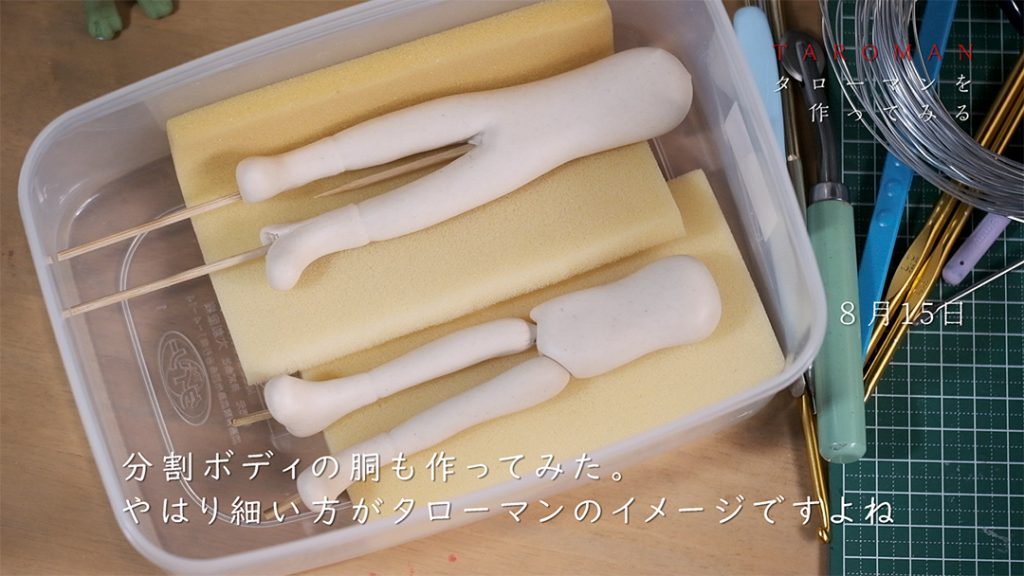
分割ボディの胴も作ってみた。
やはり細い方がタローマンのイメージですよね。
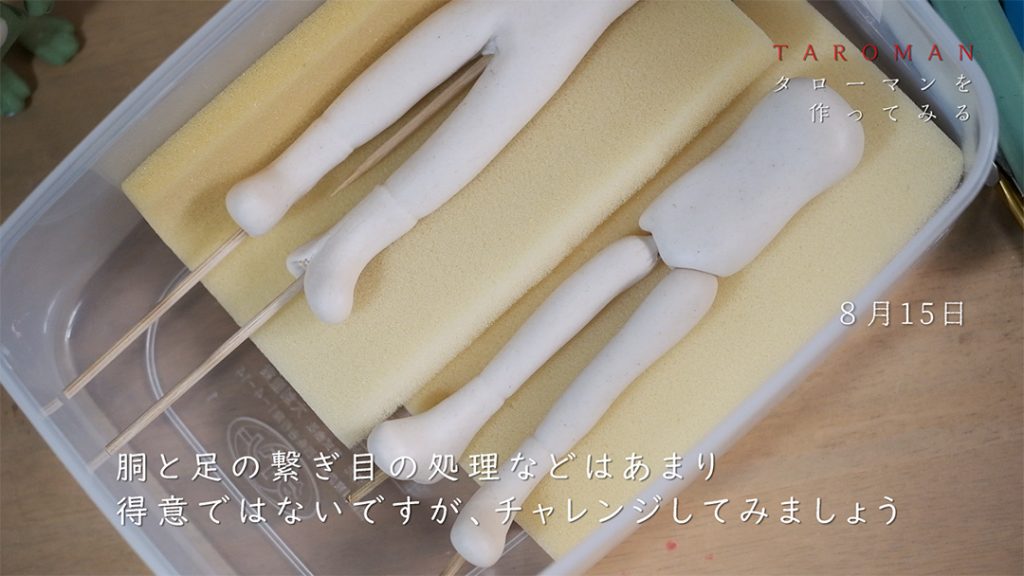
胴と足の繋ぎ目の処理などはあまり得意ではないですが、チャレンジしてみましょう。
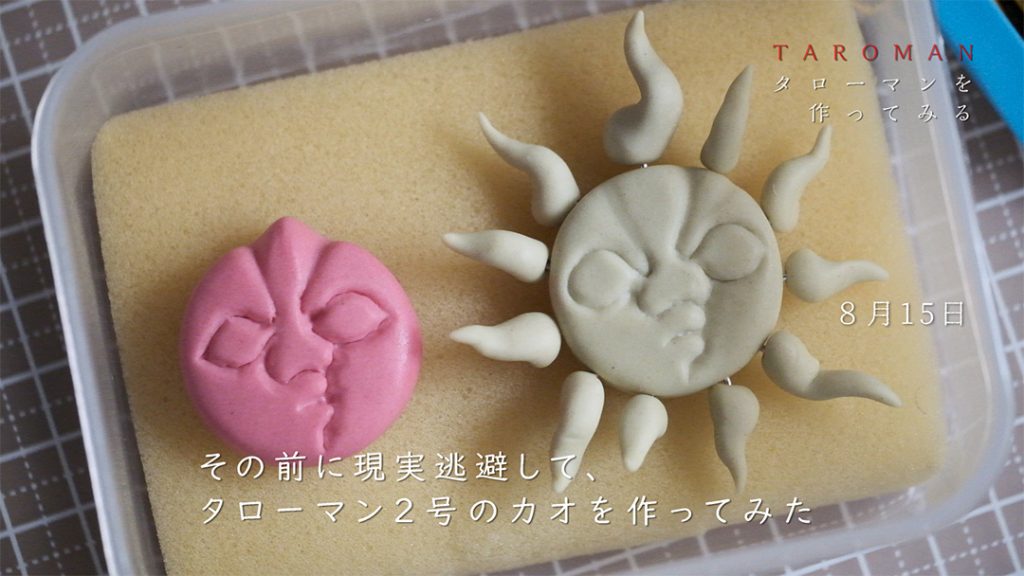
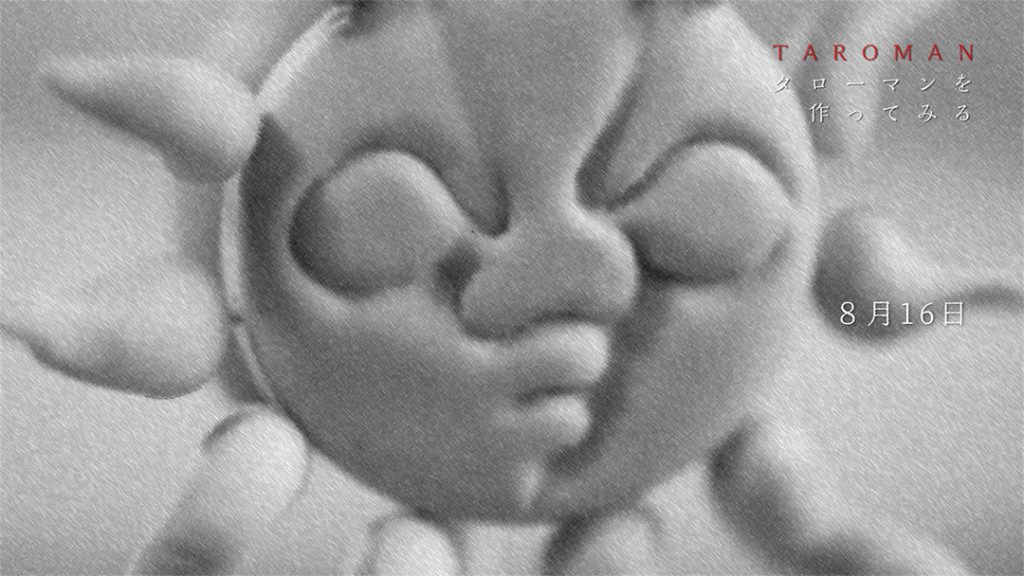
その前に現実逃避して、タローマン2号のカオを作ってみた。
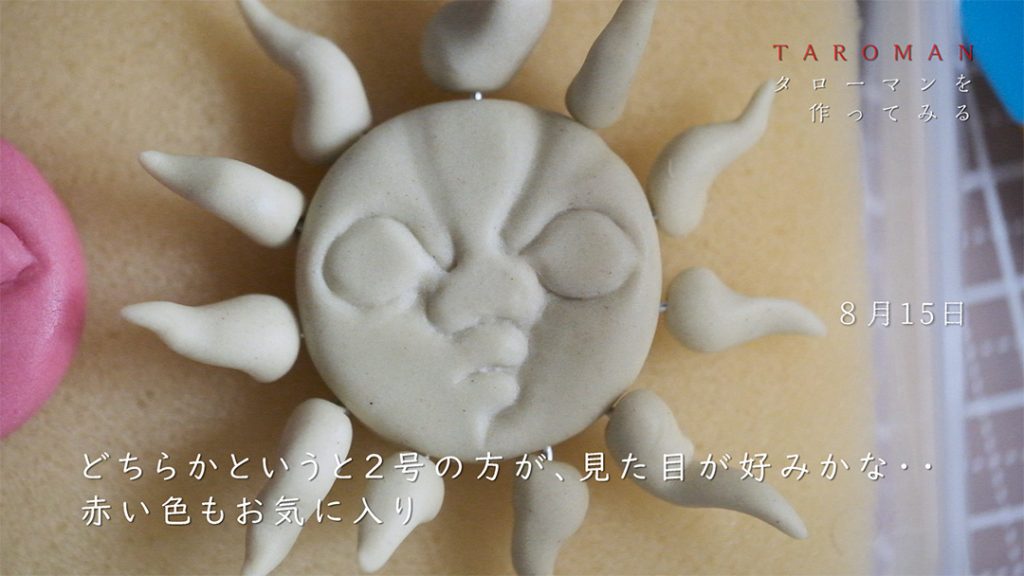
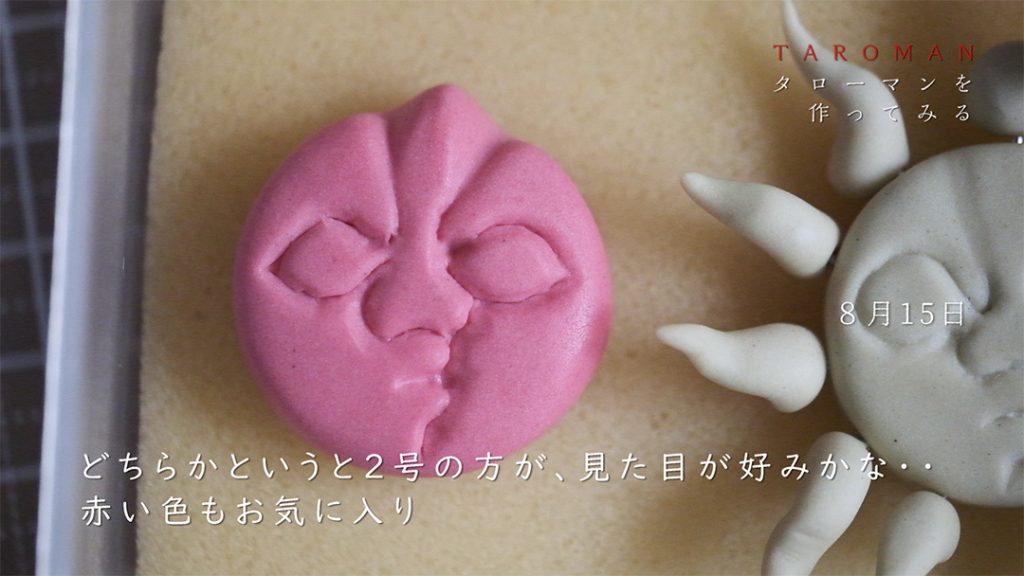
どちらかというと2号の方が、見た目が好みかな・・。
赤い色もお気に入り。
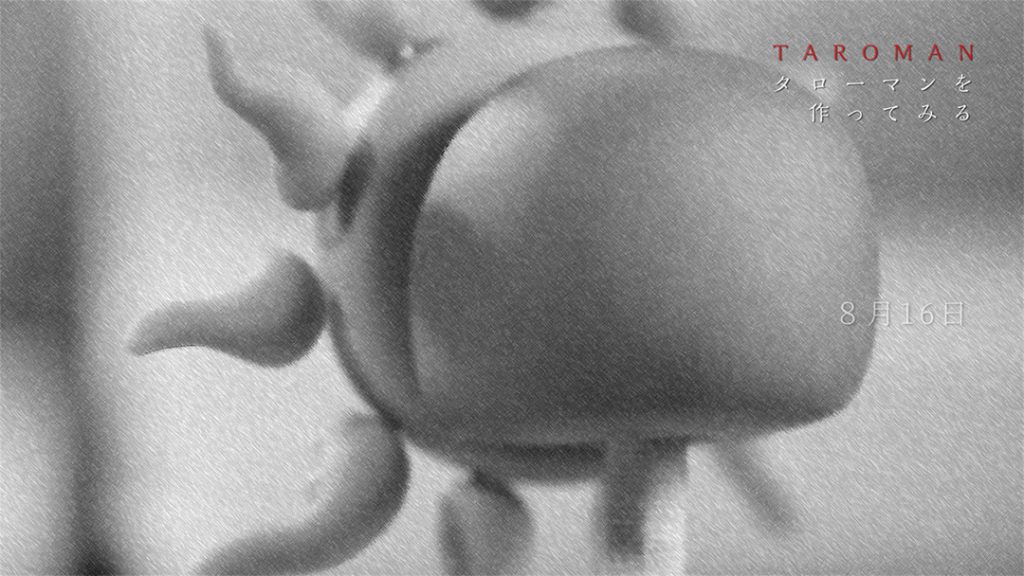
8月16日
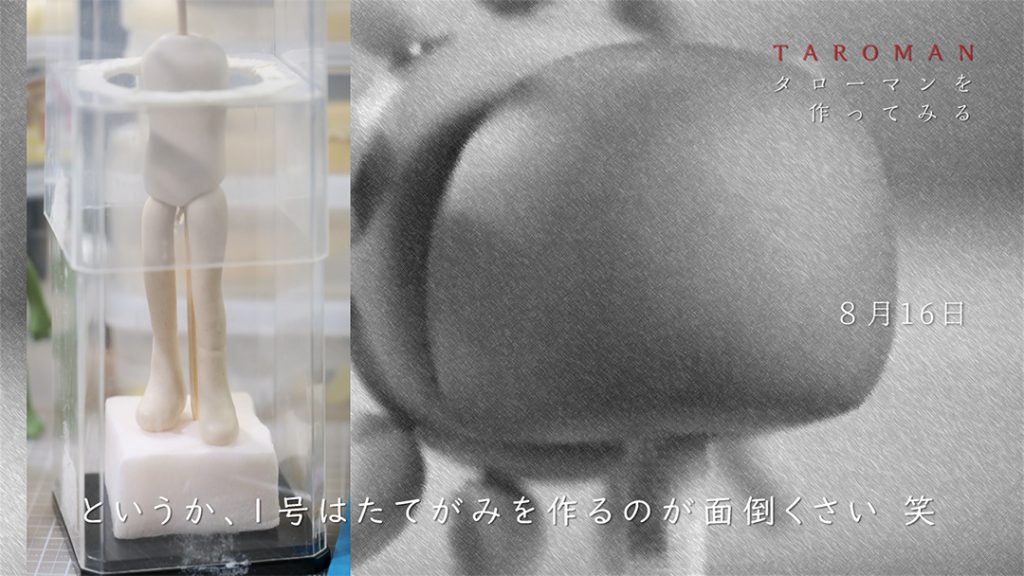
というか、1号はたてがみを作るのが面倒くさい 笑。

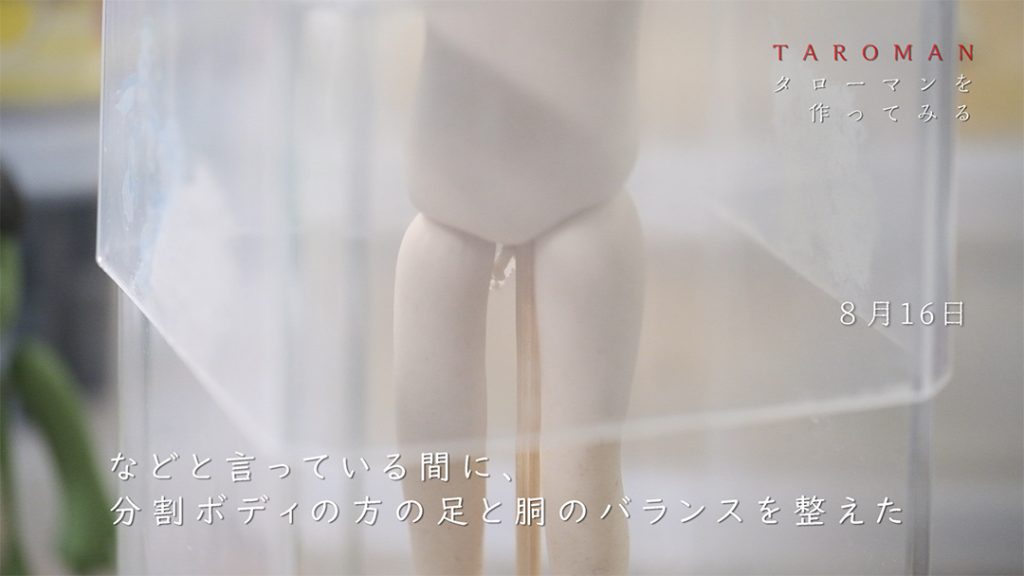
などと言っている間に、分割ボディの方の足と胴のバランスを整えた。
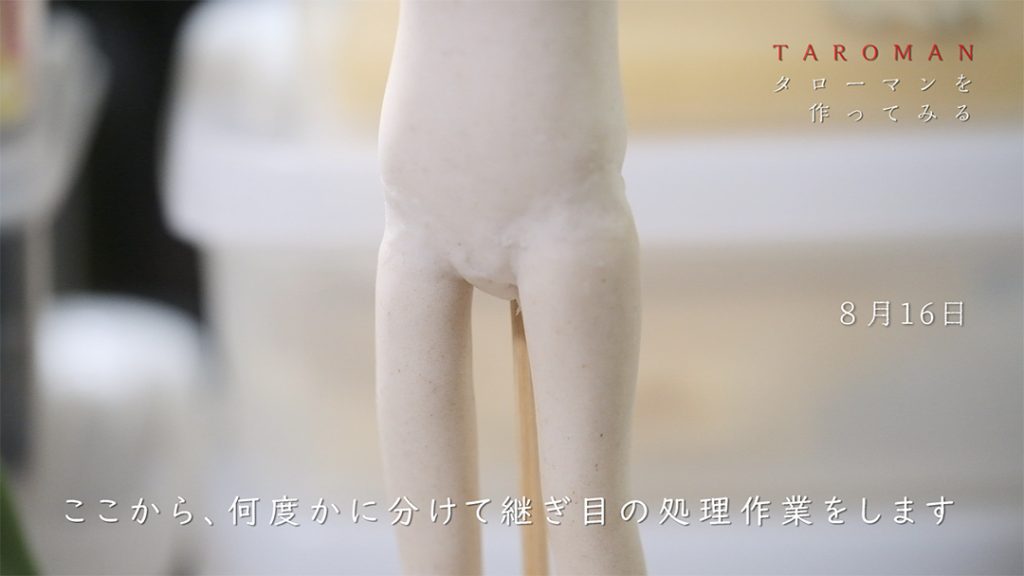
ここから、何度かに分けて継ぎ目の処理作業をします。
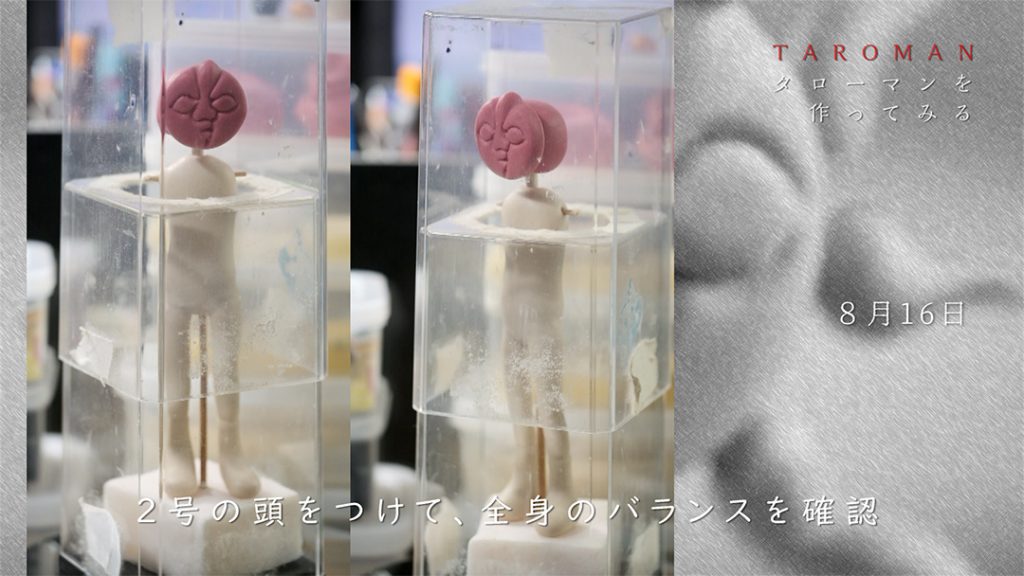
2号の頭をつけて、全身のバランスを確認。
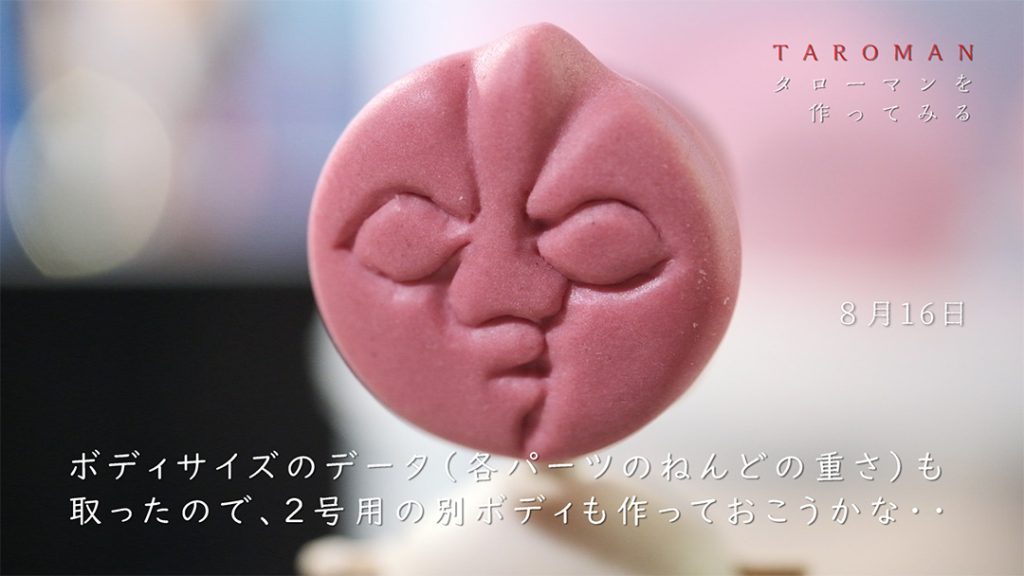
ボディサイズのデータ(各パーツのねんどの重さ)も取ったので、2号用の別ボディも作っておこうかな・・。
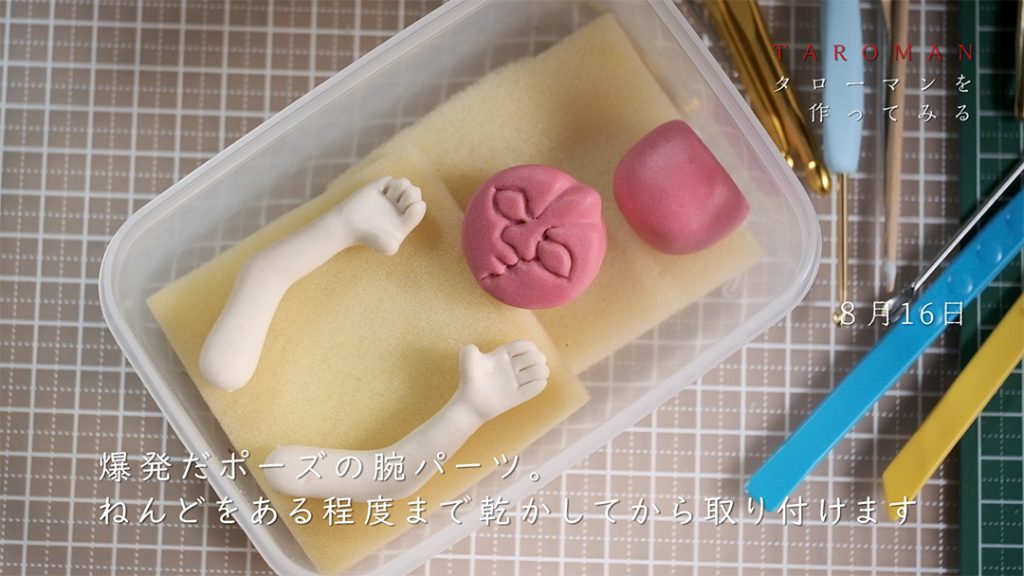
爆発だポーズの腕パーツ。
ねんどをある程度まで乾かしてから取り付けます。
8月17日
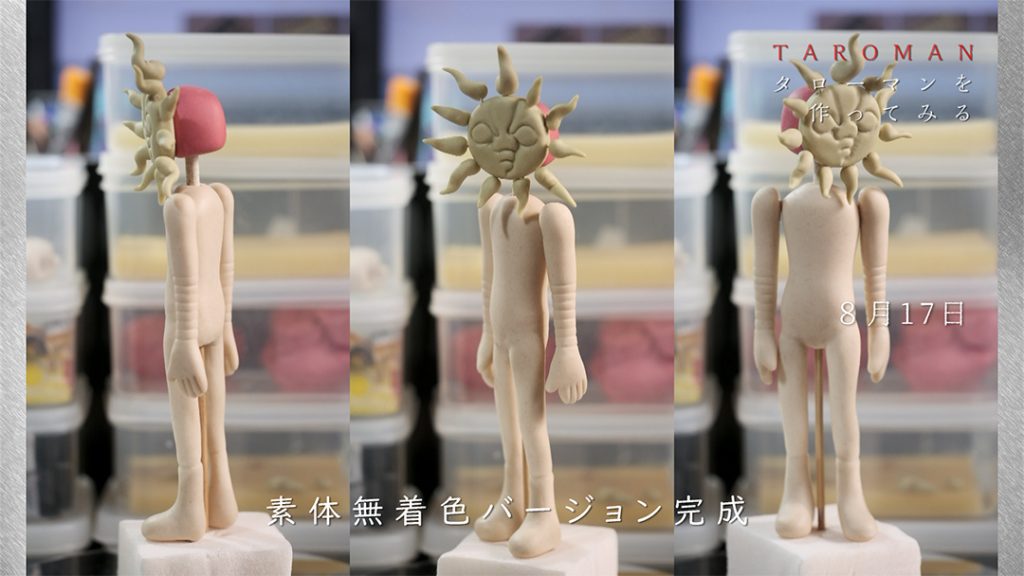
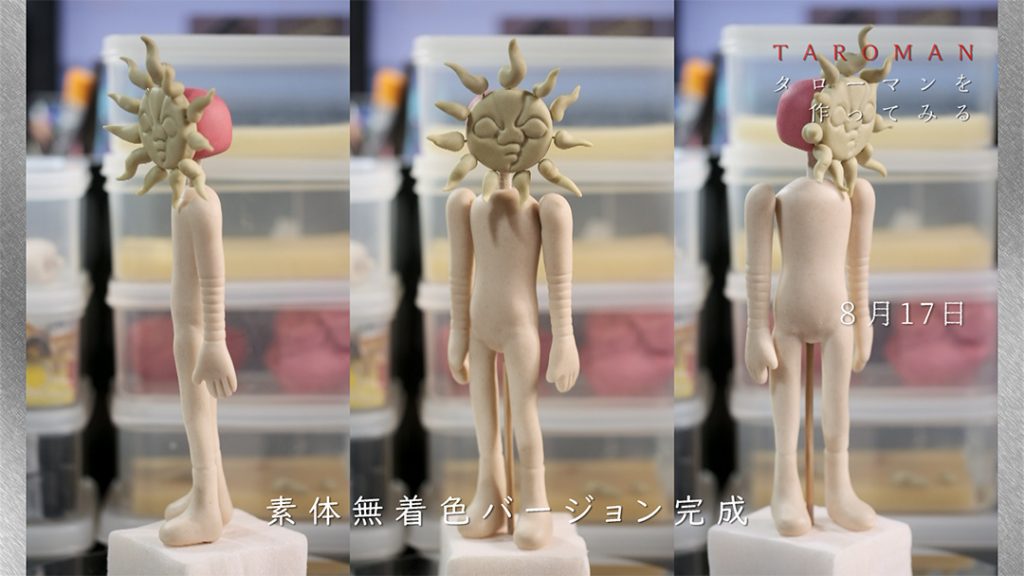
素体無着色バージョン完成。
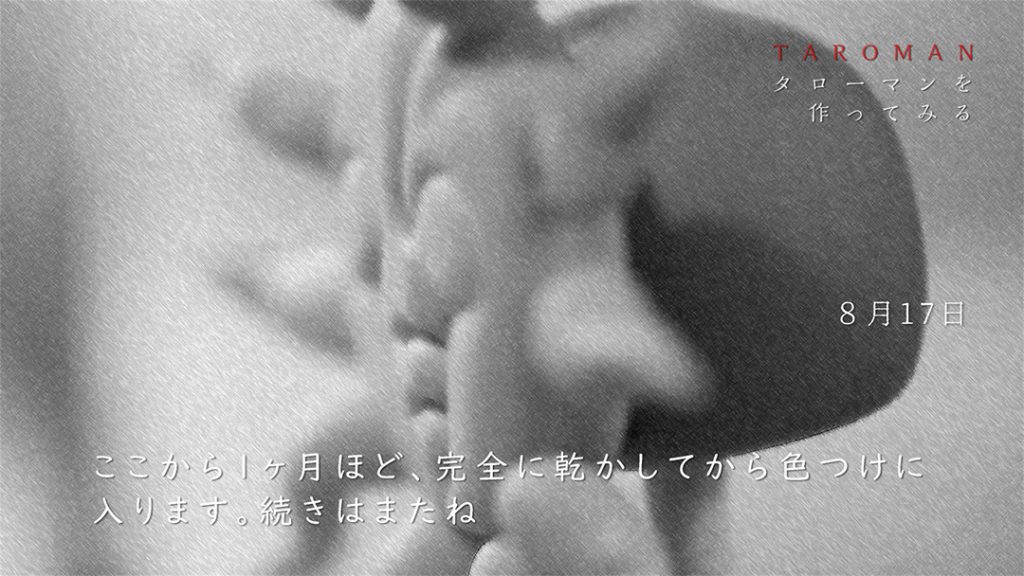
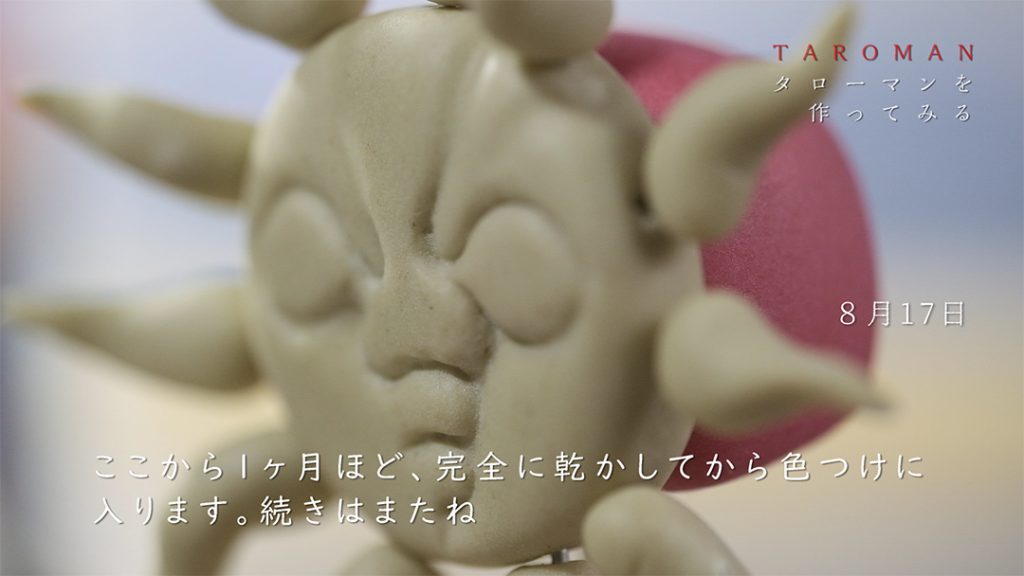
ここから1ヶ月ほど、完全に乾かしてから色つけに入ります。
続きはまたね。
動画2分14秒。